Yet another Brindille & Twig pattern. The Raglan t-shirt. It's an excellent basic that I use often and would recommend. I thought I'd approach this post a little differently though. As these photos are all over a year old, I have had a chance to see how the fabric for these makes has held up. One of the reasons that I sew is to reduce waste so I like to make things that are going to last and will get a lot of use. I wash my children's clothes on a hot setting with Gain as they are often going in with soiled items and cloth diapers. I dry them in the dryer. This is probably as hard as you can be on clothing, but it's a reality for many children's clothes that they are regularly stained and washed. So in the interest of science and sustainable sewing, here is the same shirt made in a variety of fabrics and how they did:
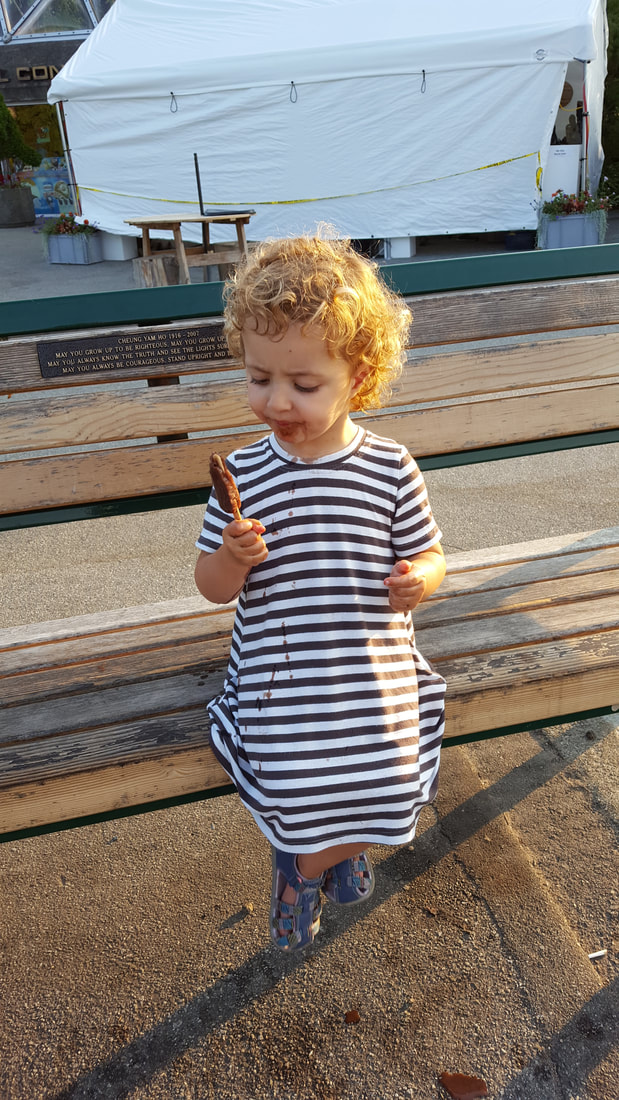
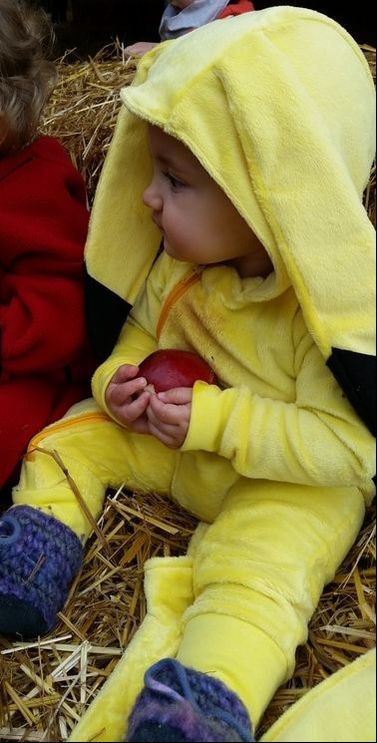
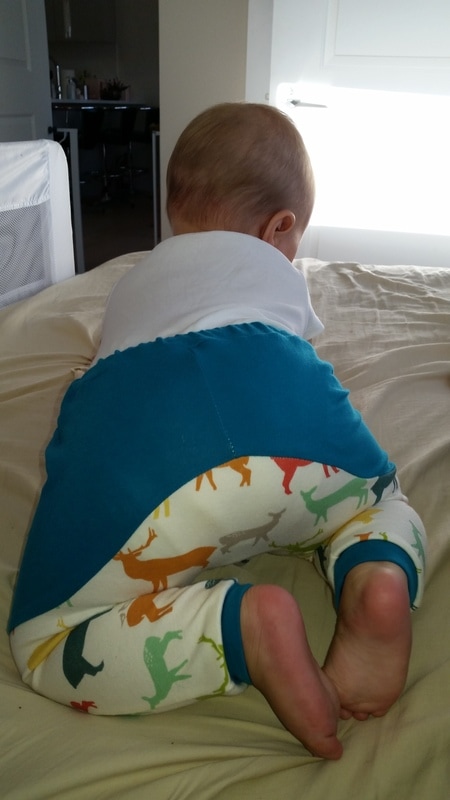
Birch organics after a few months of wear.
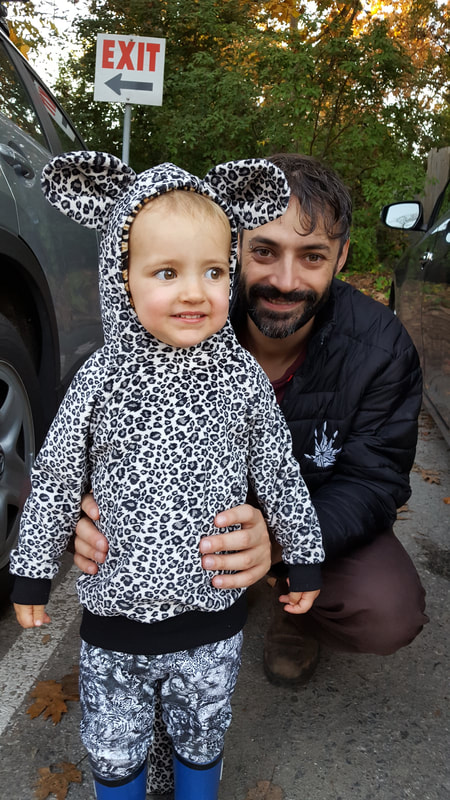
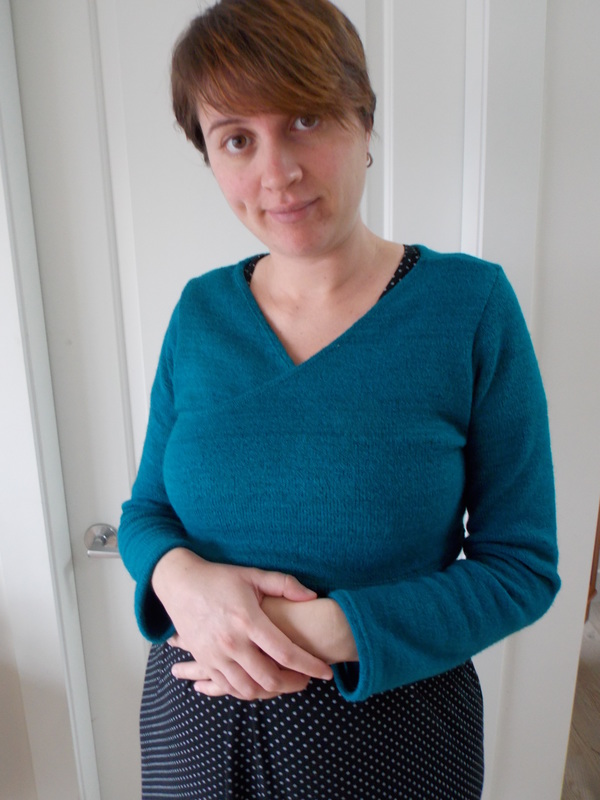
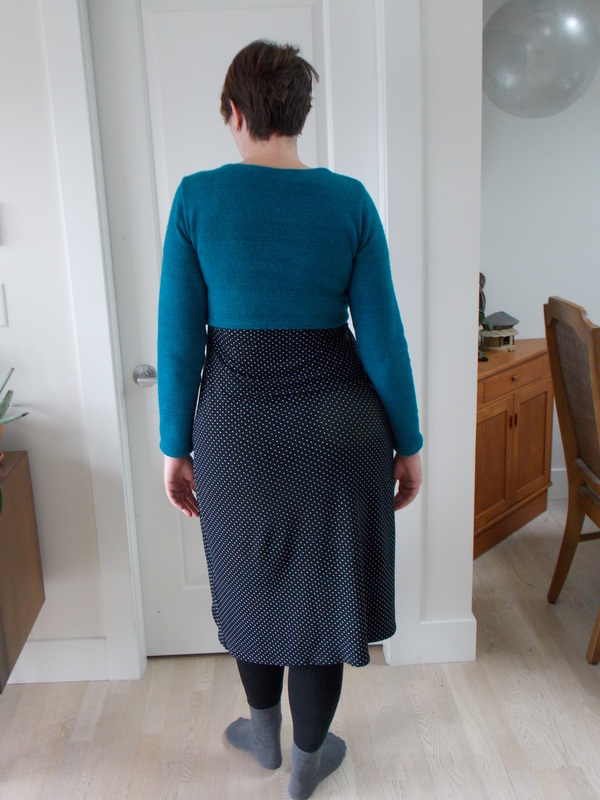
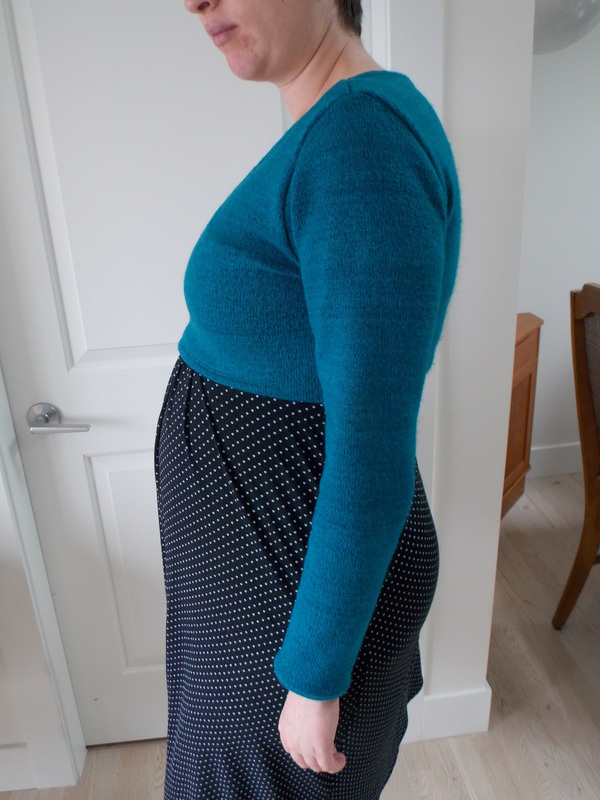
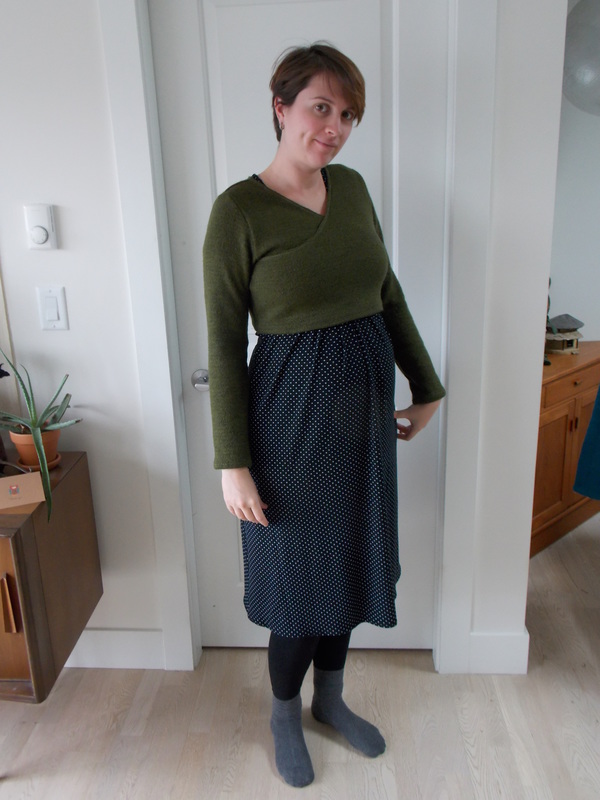
Birch Organic knit. I believe that at this time Birch knit fabric was an interlock knit which was 100% cotton. This made for a fabric with some stretch but very little recovery. This made it less ideal for bands and you can see these ones became wobbly and stretched out with wear. It is my understanding that it is now produced with some elastane in it so new fabrics will look a little different. This fabric has such a nice thick, substantial feel to it and feels very natural and soft. I love the patterns it comes in but the colour tends to fade quickly, especially on the darker prints. Some of the cream bases and lighter prints have held up better to wash and wear but they all show signs of fading. The fabric itself is in excellent shape with no signs of pilling or loss of integrity. These fabrics are expensive but I'd buy them again in light prints, especially for babies with sensitive skin.
 More Birch Organics. |  More Birch Organics. |
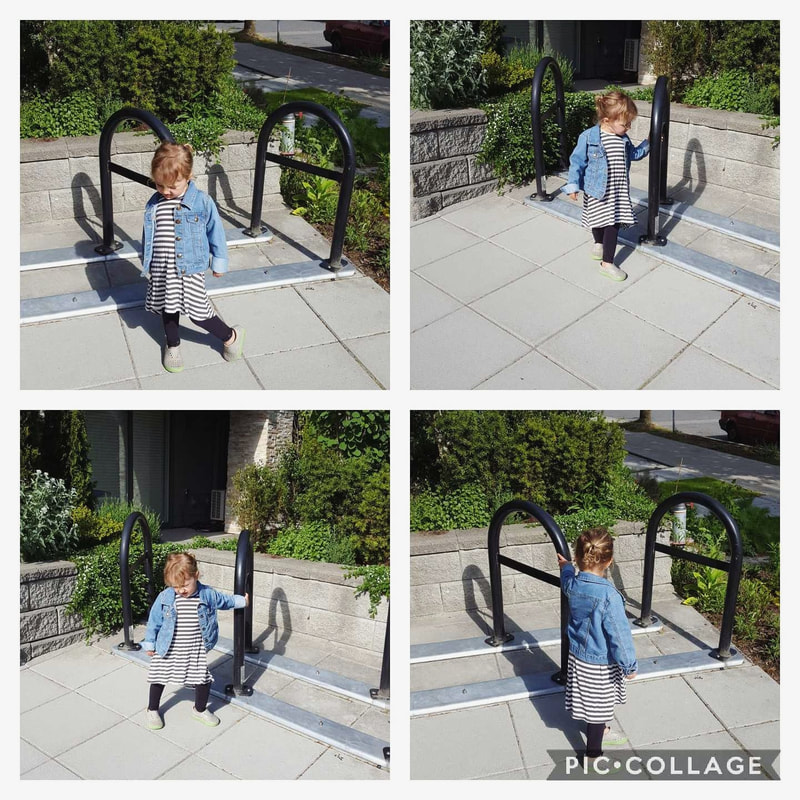
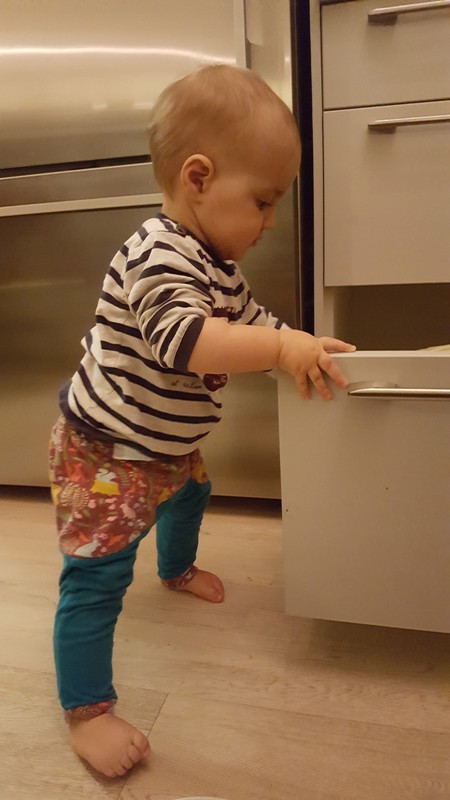
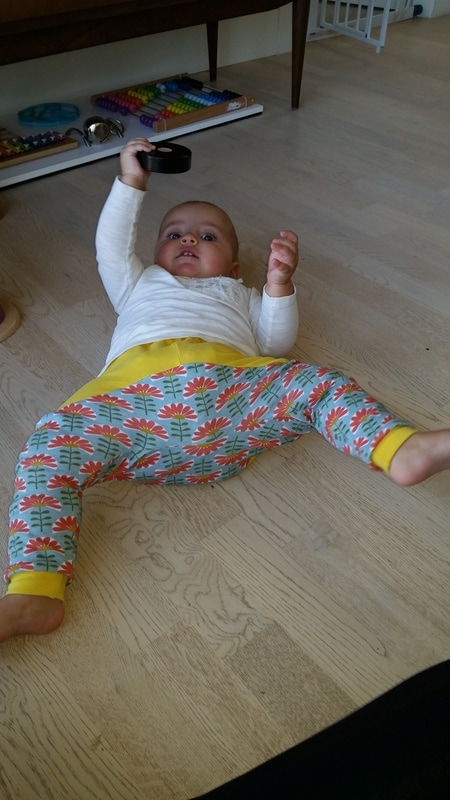
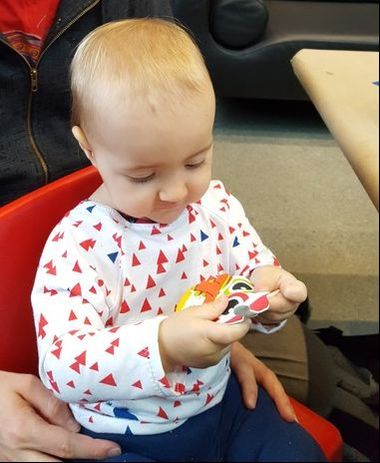 Girl Charlie knit
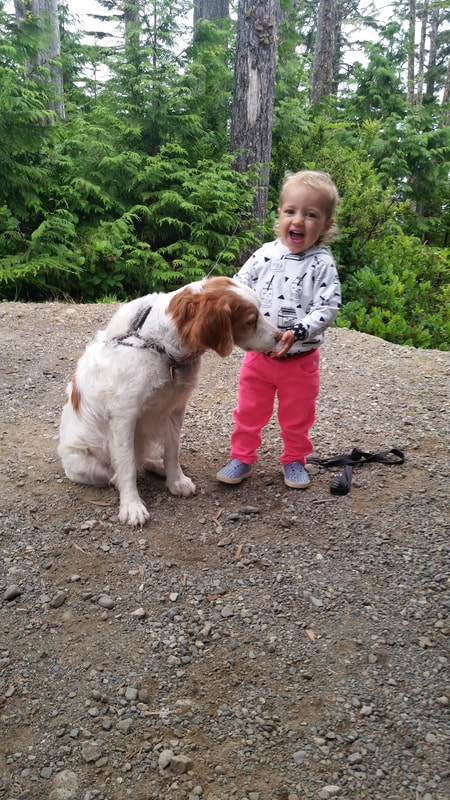
 Girl Charlie knit fabric. This fabric was so cheap. I bought it during a sale and I think I spent about $2/m on it. They have an amazing selection of prints and a very large catalogue. However, I wouldn't buy from Girl Charlie again. These knits are quite thin and they aged quickly. Many of these garments became pilled and worn within a couple months. Some garments have holes in them. Areas of stress, like the neckbands lost resiliency quickly. These might stand up better to lighter use but they feel too disposable to me. The colour has not faded as much as on the Birch Organics but there is some fading on the darker prints.
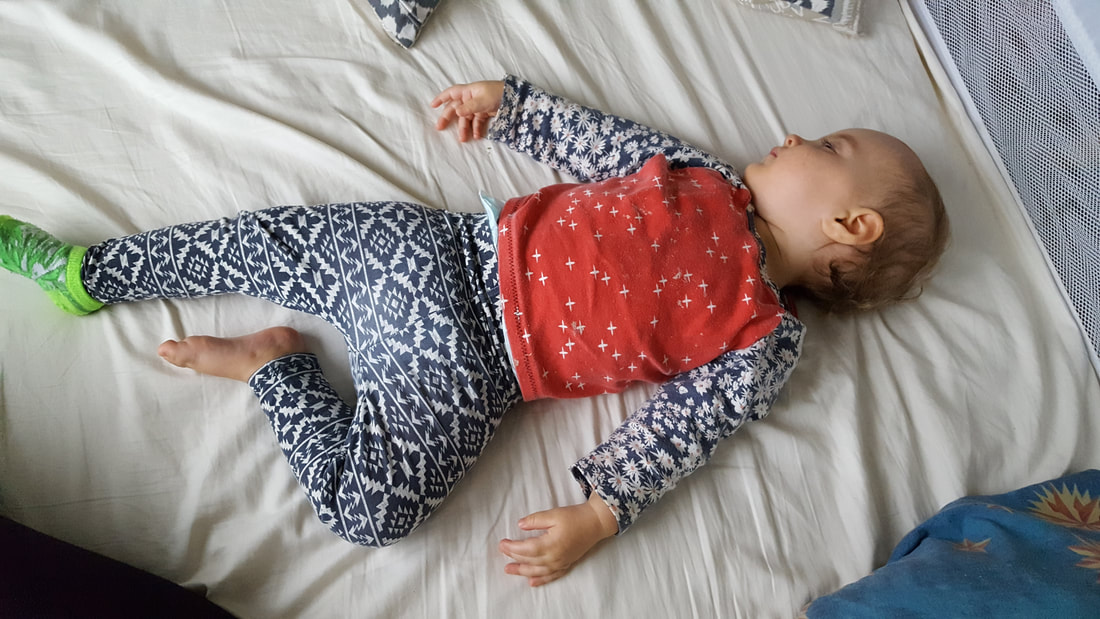
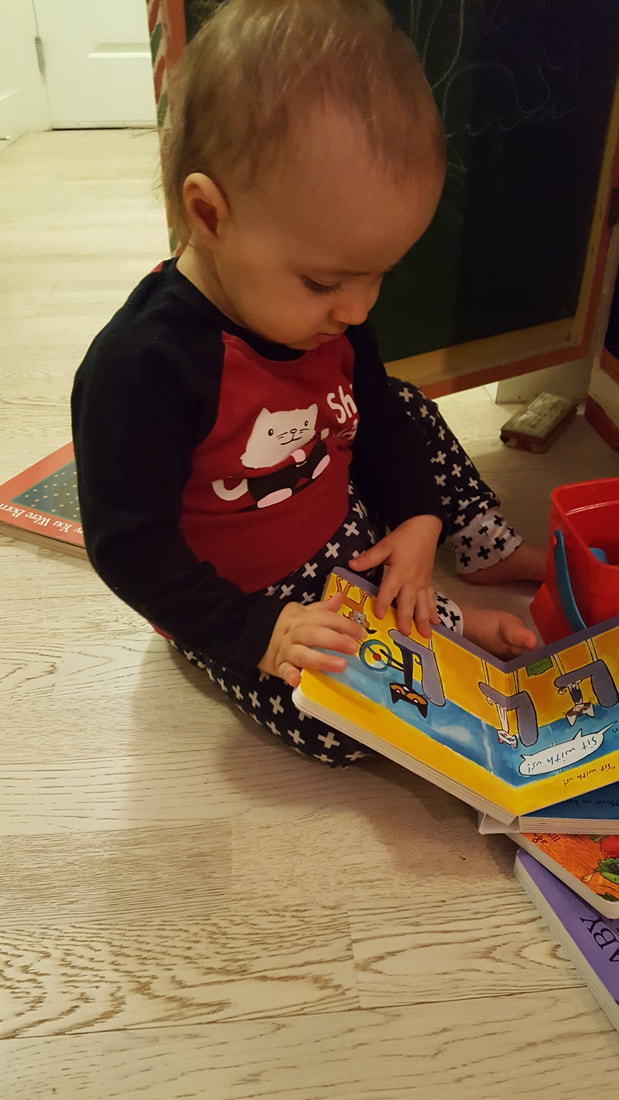
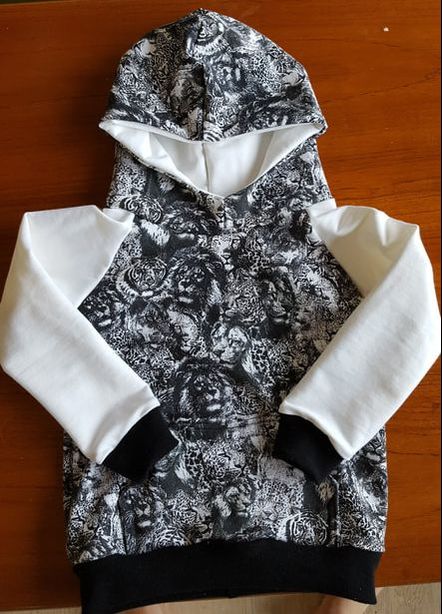
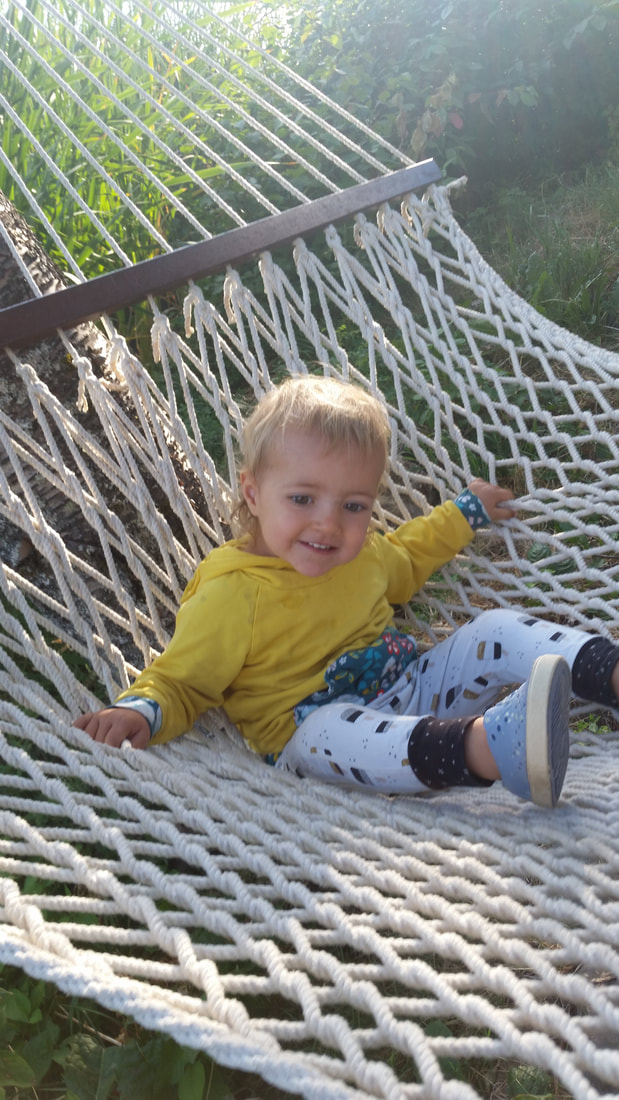
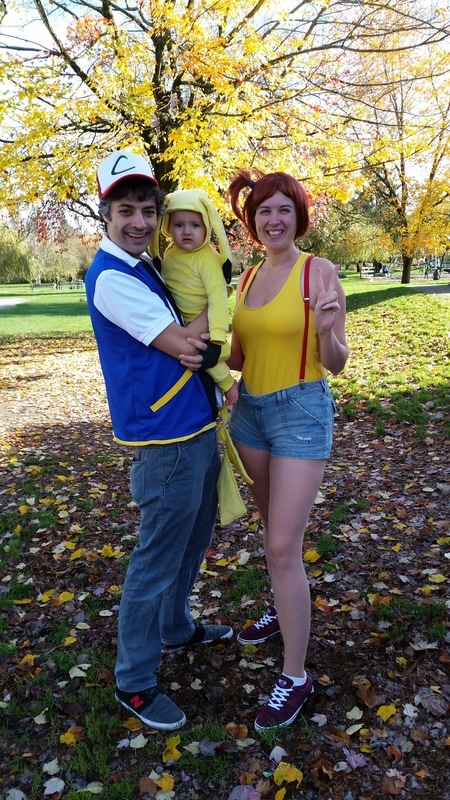
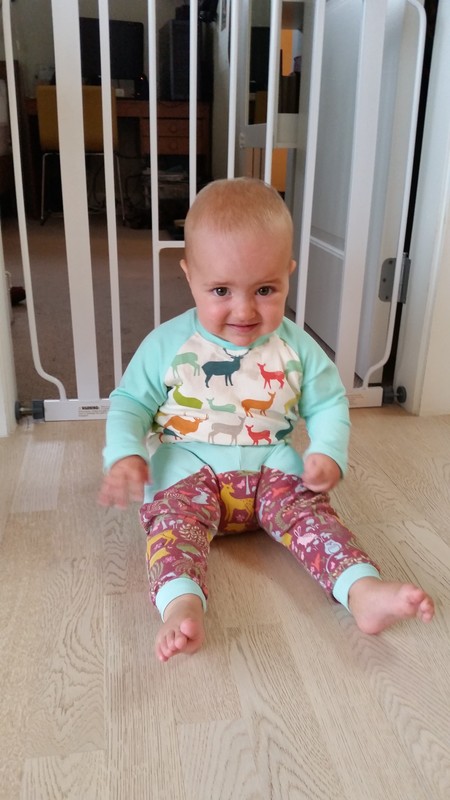
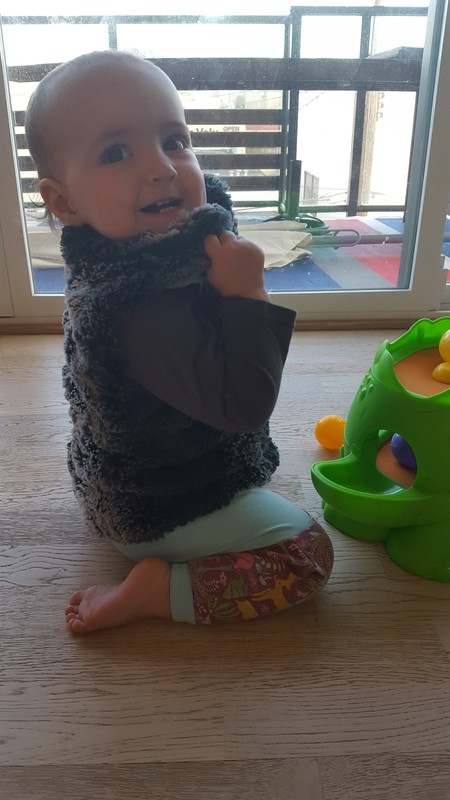
Robert Kaufman knits. These feel a bit thinner than the birch organics but are a heavier weight than the girl charlie knits. They are a good weight for t-shirts and leggings. They have good stretch and recovery and I use them regularly for bands. The variety of prints is more limited from the retailers that I have seen. I really enjoy the prints though and think they are also great as a way to mix with other prints for a modern look without getting too busy. There has been a little fading on the black after many wears. The fabric itself has no pulling and has not bagged out. I definitely add this fabric to my cart to have on hand to coordinate with others when I see it.
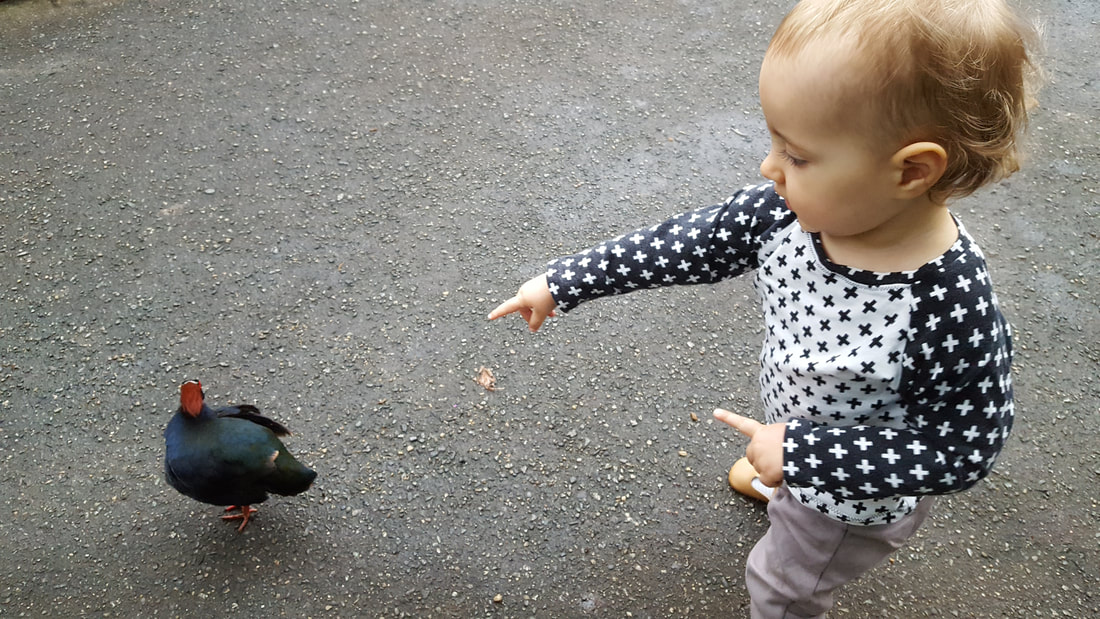
Robert Kaufman crosses
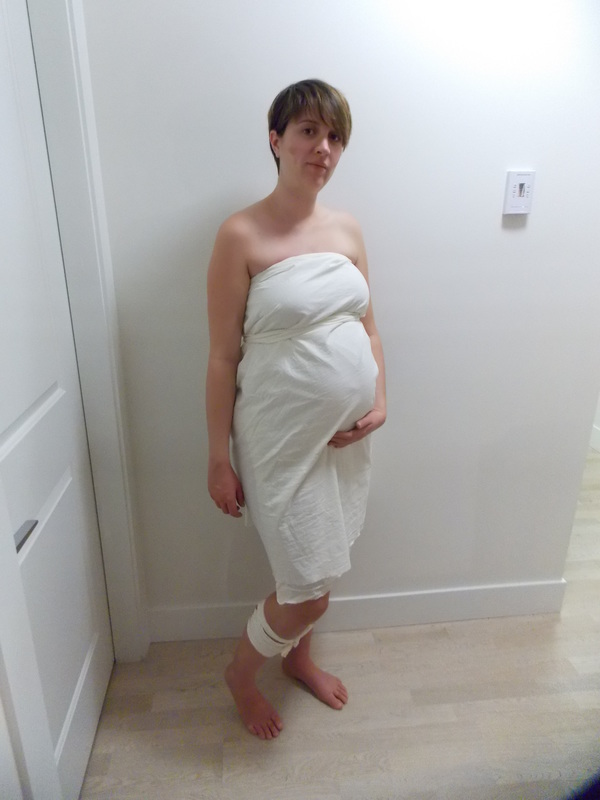
Up-cycled fabric. This is a little different as these fabrics have been worn already by me in the form of a t-shirt. I have mixed feelings on up-cycling as I often think that if the garment is still in good shape it is least wasteful to pass it on to someone who will still wear it as is. If there is damage or wear to the garment, then it makes sense to harvest the usable fabric and make something new. I don't tend to up-cycle garments made of cheap or worn fabric as I don't like to spend sewing time making something that won't feel nice or last very long. Those garments get turned into rags or cloth wipes in our house. These shirts had been worn by me when I worked with kids and had discolouration around the armpits so were good candidates for kids clothes. I wash my own clothes in cold water with a gentle eco detergent and hang to dry so they were definitely not treated as harshly in their previous life. The first example is a graphic tee printed on an American Apparel Tee. It is in great shape and will be passed to my son. The second is a tee of unknown origin I received as a gift. The graphic has cracked a bit with washing and drying but the fabric is OK. I imagine anything with a vinyl print won't wear as well with hard washing.
 Upcycled American Apparel Tee | 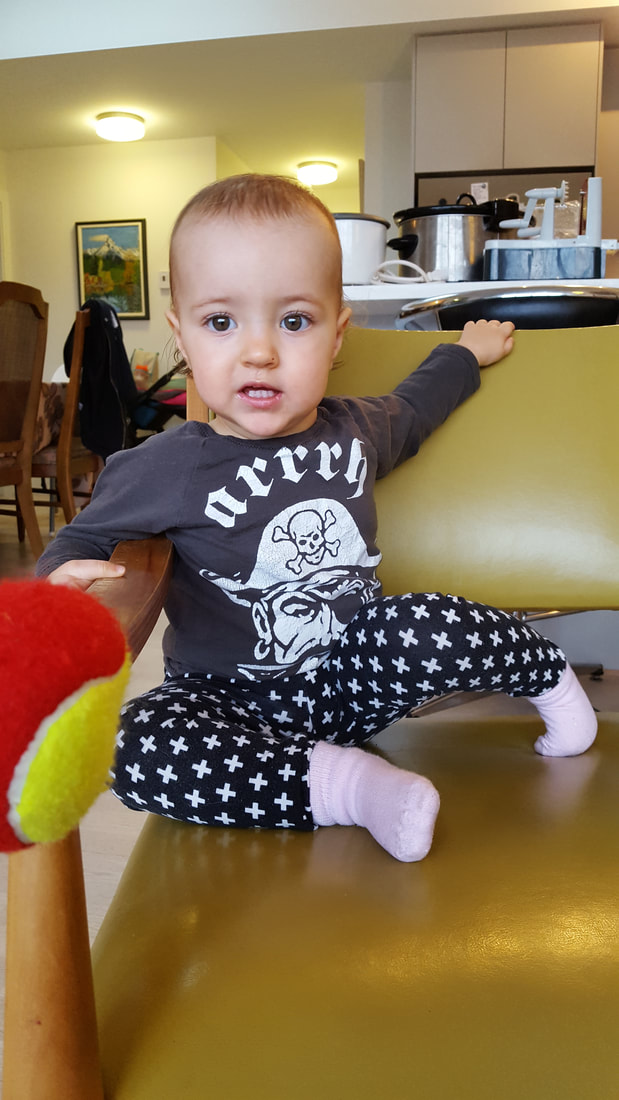 Upcycled Jersey Tee |
That's all for now. Any fabric recommendations for children's clothing? Do you up-cycle? Do you care about sustainability in your sewing?


 RSS Feed
